Modify docroot to improve security
If you installed Magento in Apache’s default docroot /var/www/html, the Magento file system is vulnerable because it’s accessible from a browser. This topic describes how to change the Apache docroot on an existing Magento instance to serve files from the Magento pub/ directory, which is more secure.
Serving files from the pub/ directory prevents site visitors from accessing the Web Setup Wizard and other sensitive areas of the Magento file system from a browser.
If you’re accustomed to using the Web Setup Wizard during development, be aware that you won’t be able to access it when serving files from the pub/ directory.
If you’re using nginx and the nginx.conf.sample file included in the Magento installation directory, you’re probably already serving files from the pub/ directory.
The sample configuration overrides your server’s docroot settings to serve files from Magento’s pub/ directory; assuming you’ve referenced the nginx.conf.sample in the server block that defines your site. For example, see the last line in the following configuration:
# /etc/nginx/sites-available/magento

upstream fastcgi_backend {
     server  unix:/run/php/php7.0-fpm.sock;
 }

 server {

          listen 80;
          server_name 192.168.33.10;
          set $MAGE_ROOT /var/www/html/magento2ce;
          include /var/www/html/magento2ce/nginx.conf.sample;
}
Before you begin
To complete this tutorial, you’ll need access to a working Magento installation running on a LAMP stack:
- Linux
- Apache (2.2+)
- MySQL (5.6+)
- PHP (5.6 or 7.0)
- Magento (2.0+)
Refer to Prerequisites and the Installation Guide for more information.
1. Edit your server configuration
The name and location of your virtual host file depends on which version of Apache you’re running. This example shows the name and location of the virtual host file on Apache v2.4.
- Log in to your Magento server.
-
Edit your virtual host file:
vim /etc/apache2/sites-available/000-default.conf -
Add the path to your Magento
pub/directory to theDocumentRootdirective:<VirtualHost *:80> ServerAdmin webmaster@localhost DocumentRoot /var/www/html/magento2ce/pub ErrorLog ${APACHE_LOG_DIR}/error.log CustomLog ${APACHE_LOG_DIR}/access.log combined <Directory "/var/www/html"> AllowOverride all </Directory> </VirtualHost> -
Restart Apache:
systemctl restart apache2
2. Update your base URL
If you appended a directory name to your server’s hostname or IP address to create the base URL when you installed Magento (for example http://192.168.33.10/magento2), you’ll need to remove it.
Replace 192.168.33.10 with your server’s hostname.
-
Log in to the Magento database:
mysql -u <user> -p -
Specify the Magento database you created when you installed Magento:
use <database-name> -
Update the base URL:
UPDATE core_config_data SET value='http://192.168.33.10' WHERE path='web/unsecure/base_url';
3. Switch modes
Magento modes, which include production and developer, are designed to improve security and make development easier. As the names suggest, you should switch to developer mode when extending or customizing Magento and switch to production mode when running Magento in a live environment.
Switching between modes is an important step in verifying that your server configuration is working properly. You can switch between modes using the Magento CLI tool:
- Go to your Magento installation directory.
-
Switch to
productionmode.bin/magento deploy:mode:set production bin/magento cache:flush - Refresh your browser and verify that the storefront displays properly.
-
Switch to
developermode.bin/magento deploy:mode:set developer bin/magento cache:flush - Refresh your browser and verify that the storefront displays properly.
4. Verify the storefront
Go to the storefront in a web browser to verify that everything is working.
-
Open a web browser and enter your server’s hostname or IP address in the address bar. For example, http://192.168.33.10.
The following figure shows a sample storefront page. If it displays as follows, your installation was a success!
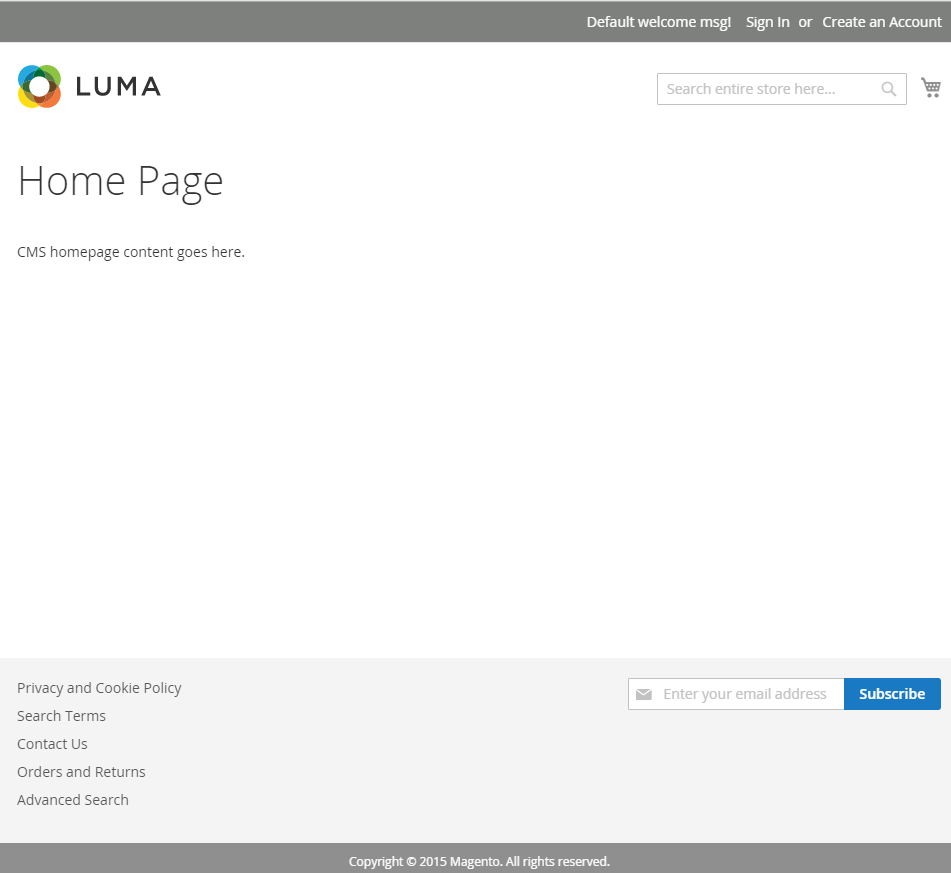
Refer to the troubleshooting section if the page displays a 404 (Not Found) or fails to load other assets like images, CSS, and JS.
-
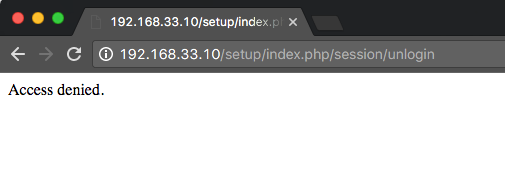
Try accessing the Magento directory for the Web Setup Wizard from a browser. Append “setup/” to your server’s hostname or IP address in the address bar:
If you see a 404 or the “Access denied” message, you’ve successfully restricted access to the Magento file system.