Import existing code into a project
You can create a Magento Commerce (Cloud) project from a blank template or by importing existing code. We recommend starting with a blank template first, and then importing existing Magento code on top of it.
You cannot create trial projects by importing existing code.
Prerequisites for importing code
Before you begin, do the following:
- Add the existing Magento Commerce code to a Git repository. We recommend using GitHub.
- Set up your local development environment.
-
Gather required information:
- SSH access link to the target environment
- Database credentials
SSH access to cloud environments
To transfer the database dump and files to Magento Commerce (Cloud), you must know the SSH access link. You can locate the SSH access link using the [magento-cloud] CLI tool(/documentation/magento_doc/guides/v2.2/cloud/reference/cli-ref-topic.html):
magento-cloud environment:ssh –pipe
You must enter all Magento Commerce (Cloud) commands on the machine on which your Cloud SSH keys are stored. For more information, see Enable SSH keys and SSH and sFTP.
Database credentials
You need your Magento Commerce (Cloud) database name and credentials so that you can import your Magento Commerce data. You can find the name and credentials for your Magento Commerce (Cloud) database in the $MAGENTO_CLOUD_RELATIONSHIPS environment variable.
To find Magento Commerce (Cloud) database access information:
-
Log in to your remote repository using SSH.
magento-cloud ssh -p <project ID> -e <environment ID> -
List all database information:
echo $MAGENTO_CLOUD_RELATIONSHIPS | base64 -d | json_pp

<pre class="no-copy">database" : [
      {
         "username" : "user",
         "query" : {
            "is_master" : true
         },
         "path" : "main",
         "port" : 3306,
         "host" : "database.internal",
         "password" : "",
         "scheme" : "mysql",
         "ip" : "192.0.2.150"
      }
   ]</pre>
In the previous example, the database name is main, the listen port is 3306, the hostname is database.internal, the root user name is user, and the user has no password.
Cloud unsecure base URL
After you import the Magento Commerce database into Magento Commerce (Cloud), you must change the base URL so you can access the Magento Admin and storefront.
Use the magento-cloud CLI tool to locate the base URL:
magento-cloud url
Import workflow for existing code
The complete workflow for importing existing code includes the following steps:
- If you do not have a project, create a new project from a template. This new project has files and directories specific to Magento Commerce (Cloud).
- Replace the contents of this project with your code using Git.
- Import your Magento database into your Magento Commerce (Cloud) project.
- Import your static files into your Magento Commerce (Cloud) project.
- Copy your Magento Commerce encryption key to your Magento Commerce (Cloud) project. This key is required for data migration and access.
- Clear the cache and verify the project imported successfully.
Create a new Magento Commerce (Cloud) project
-
Access your account. Open the email you received from Magento Cloud (accounts@magento.cloud) and click the Access your project now link. Or you can log in to your Magento Commerce account.
-
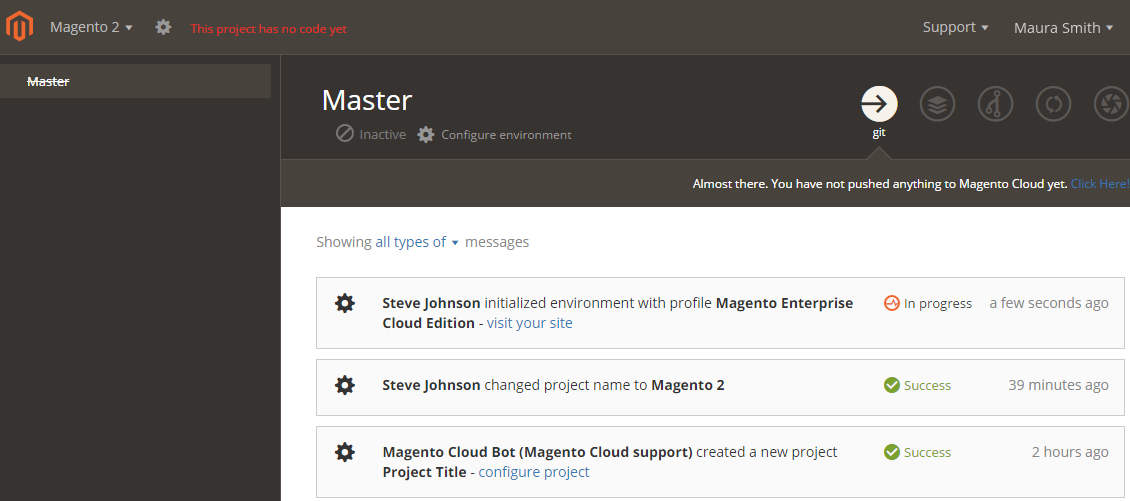
Click the This project has no code yet link next to the project name.

-
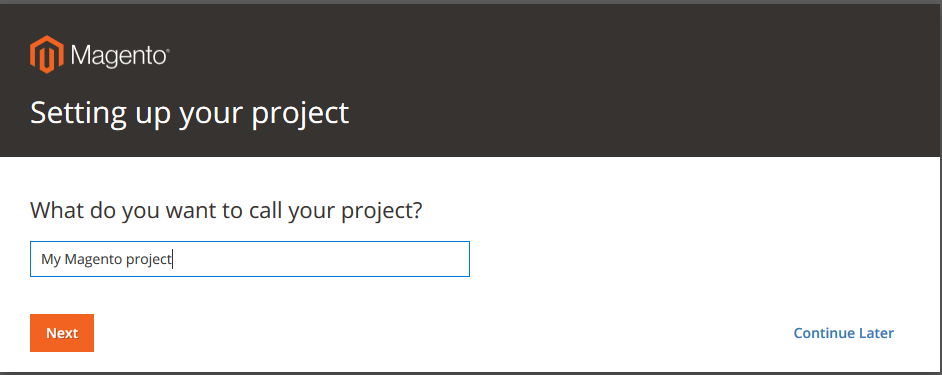
Enter a name for the project.
-
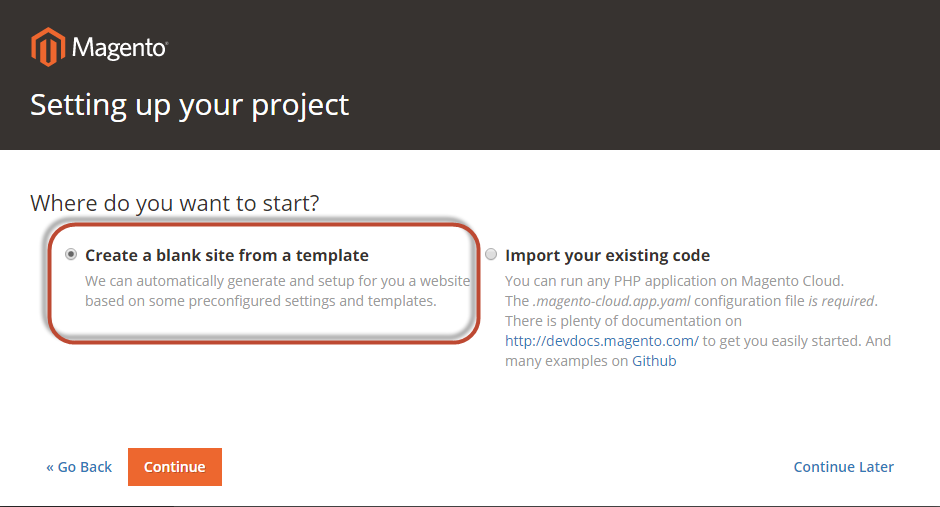
Click Create a blank site from a template and click Continue. We recommend starting with the Magento template as your initial project option. If you have an existing Magento deployment, you can import existing code later.
-
When prompted, enter your Magento Commerce Magento authentication keys in the provided fields. You created these keys earlier in the Magento Marketplace. Enter the private and public keys and click Finish.
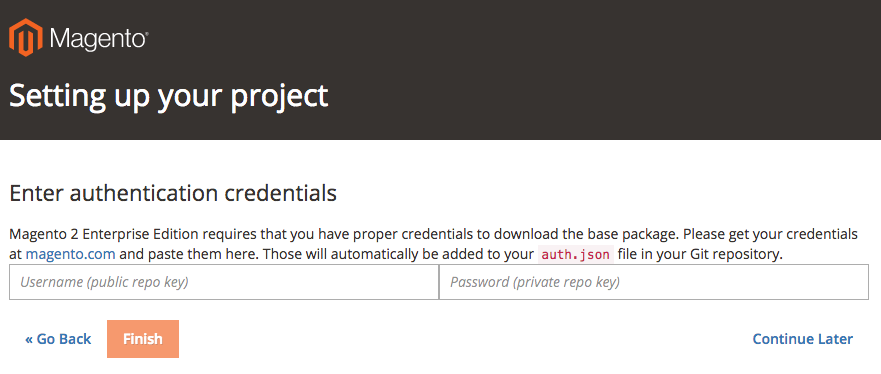
The keys are added to the
auth.jsonfile and the file is required for all branches and deployments. -
Wait a few minutes while the project deploys. A status of Pending displays until completed, similar to the following:
-
After the project deploys, Success displays next to the name of your project.